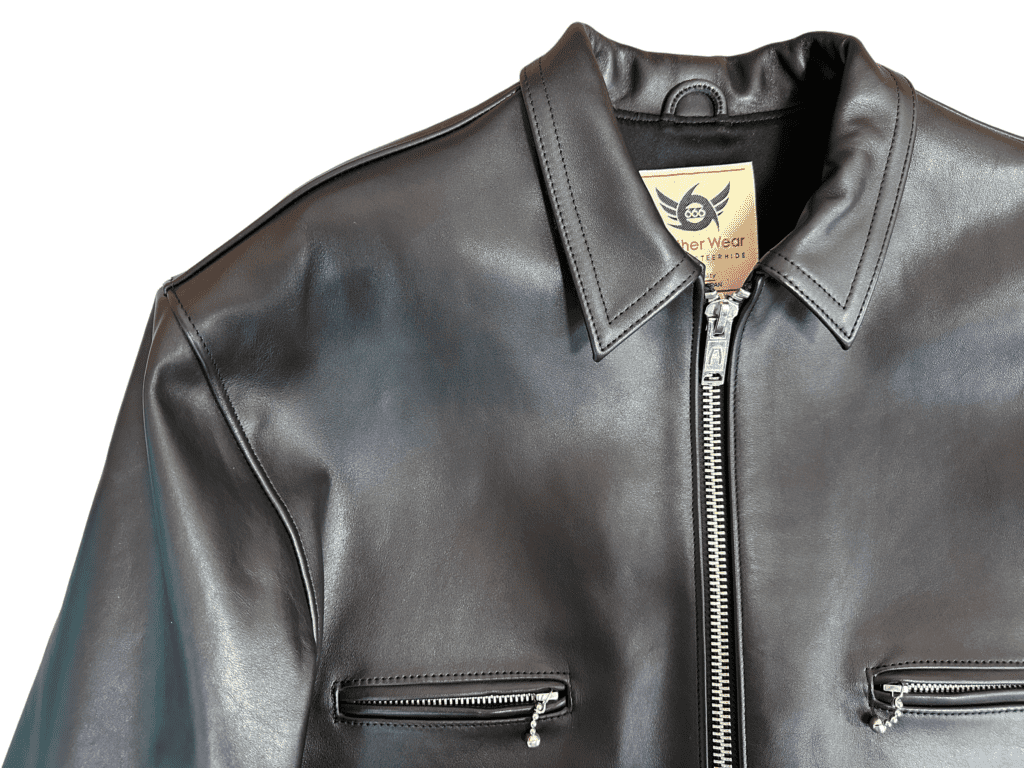
666の肩幅を左右2㎝ずつお詰めしていきます。
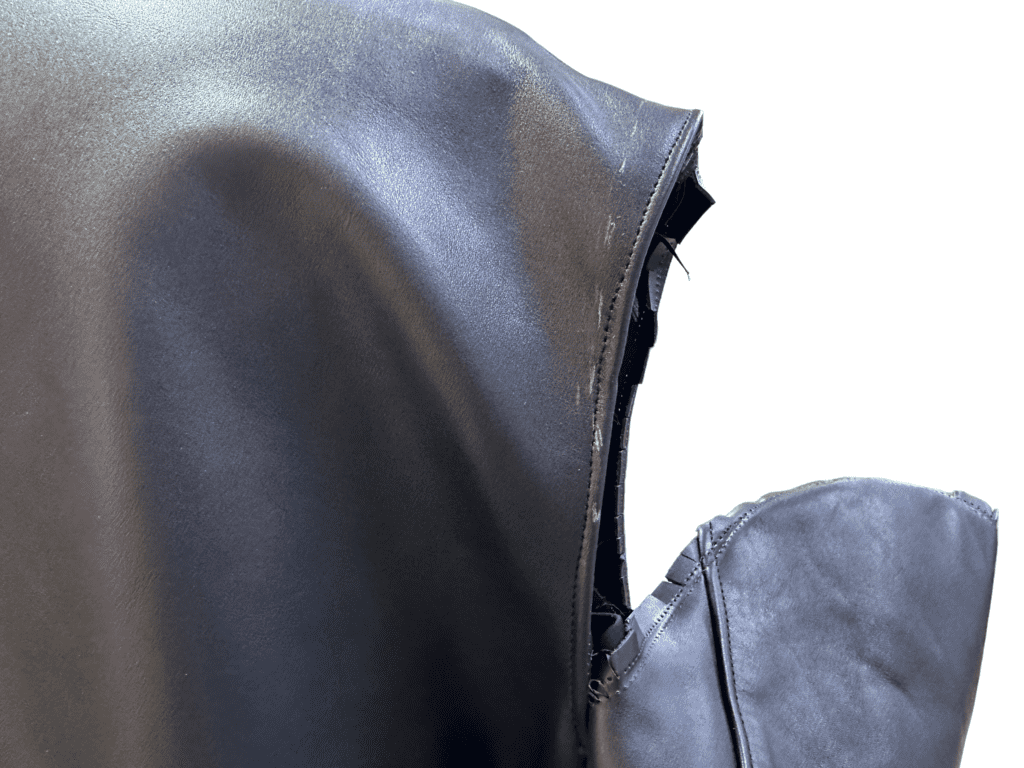
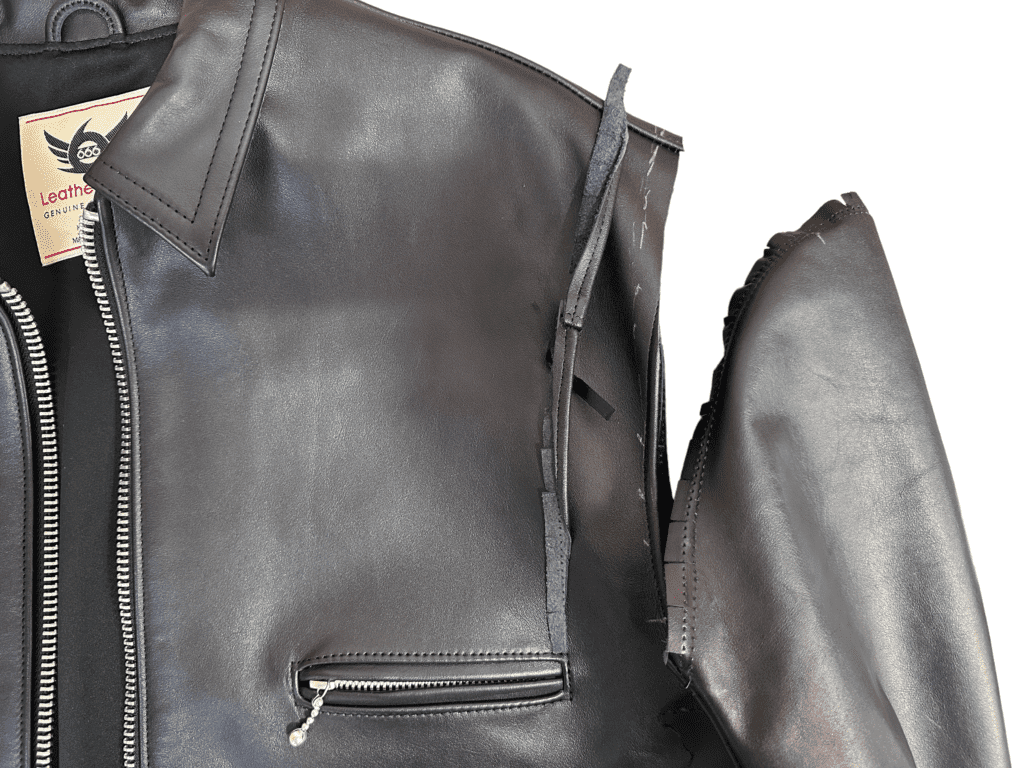
袖をガバッと大きく外す
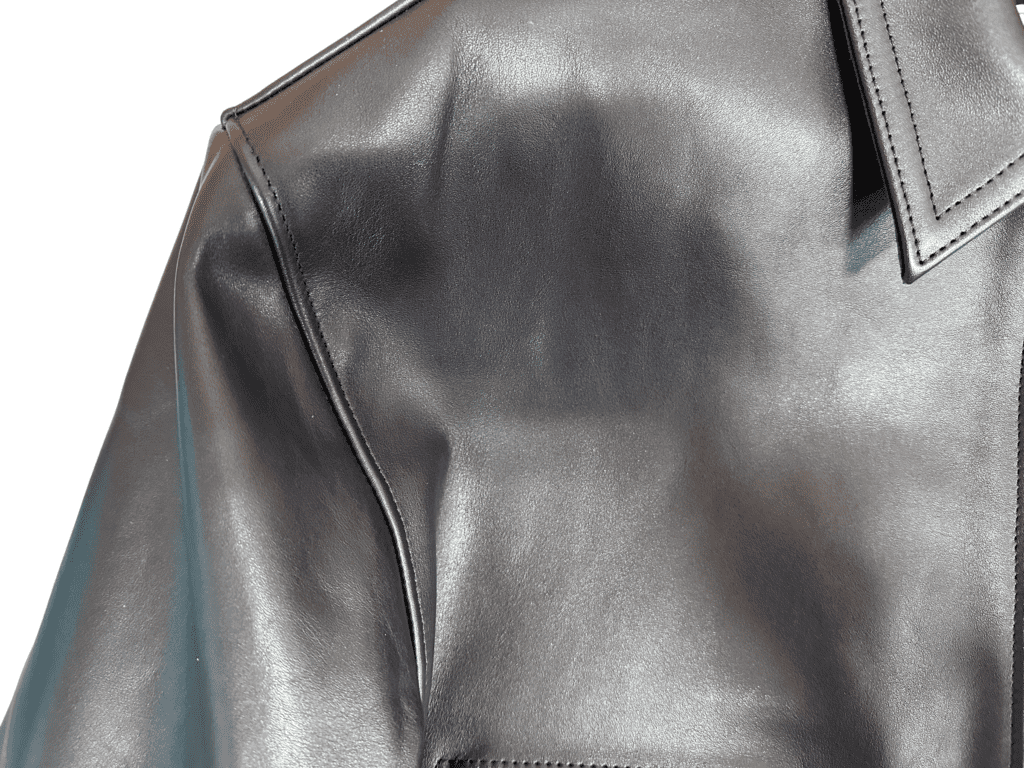
肩の点線から縫い代を付けて、カットする前の目印にします。
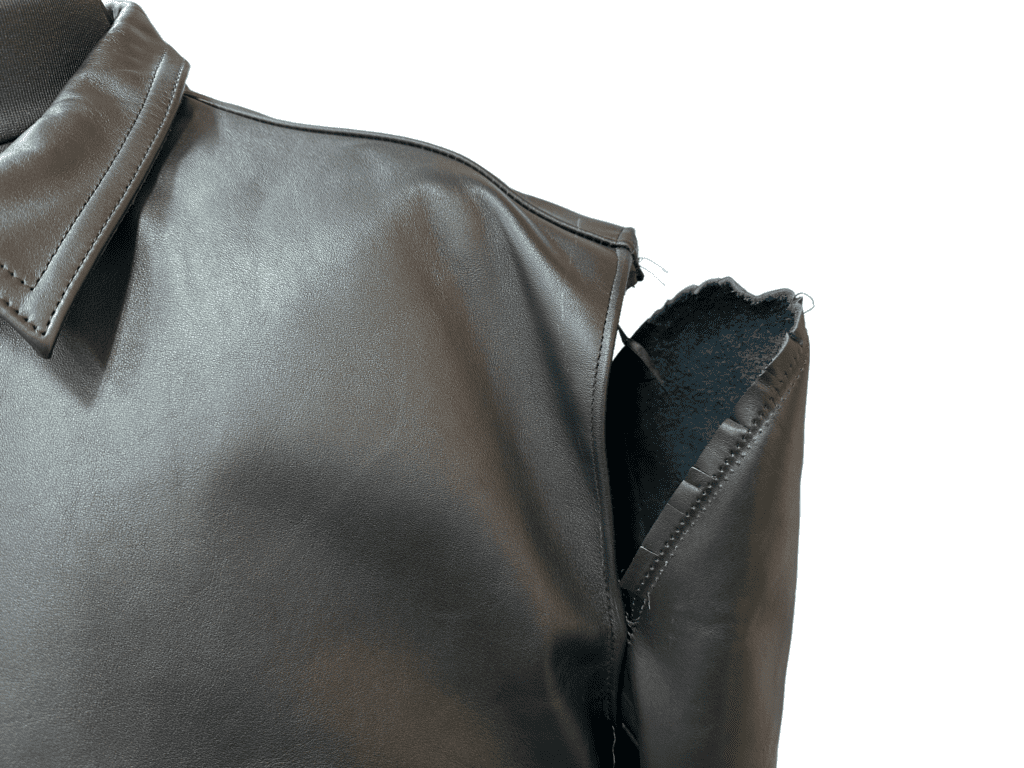
鋏を入れる
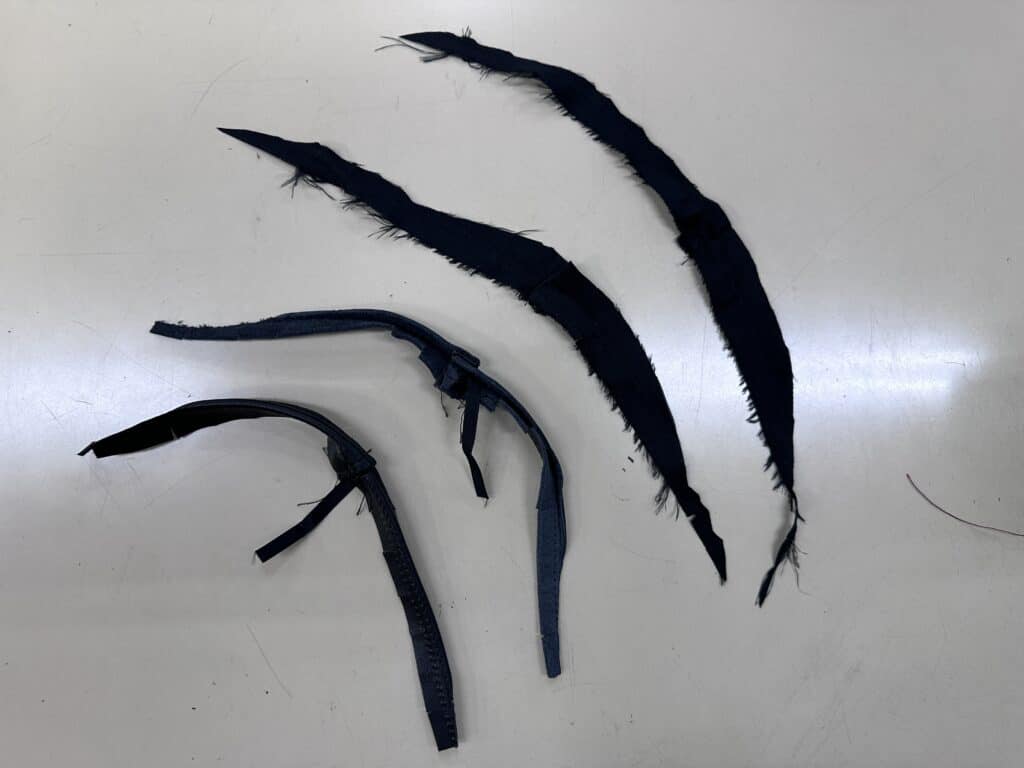
裏地も革と同等分を断ち落とします。
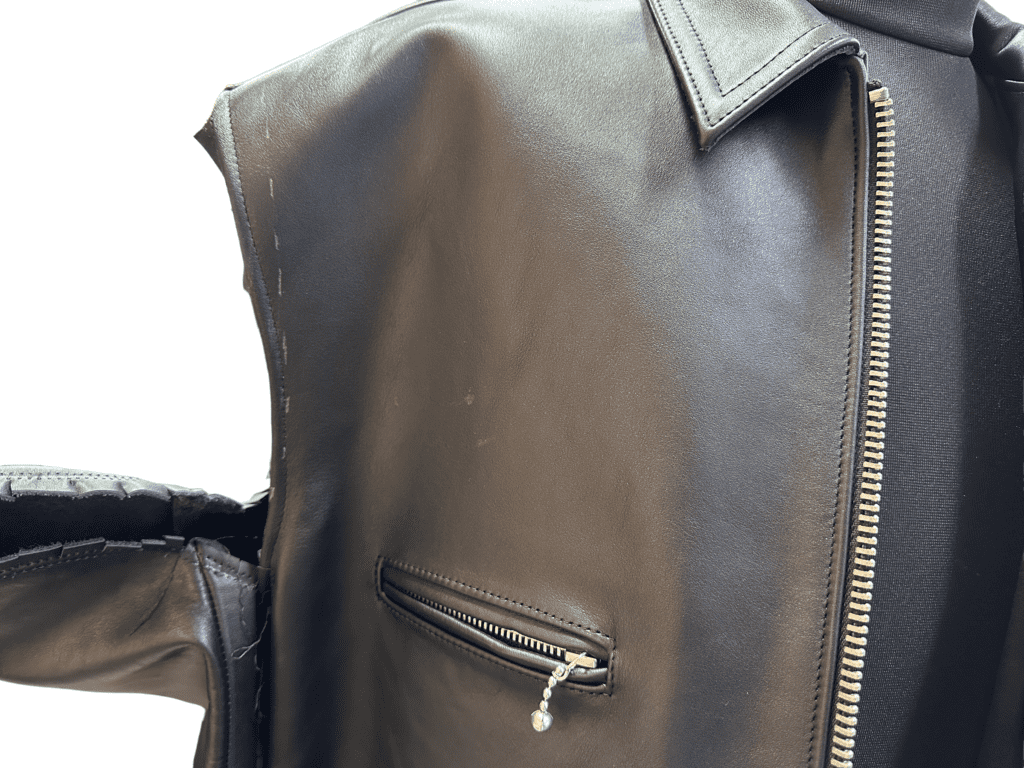
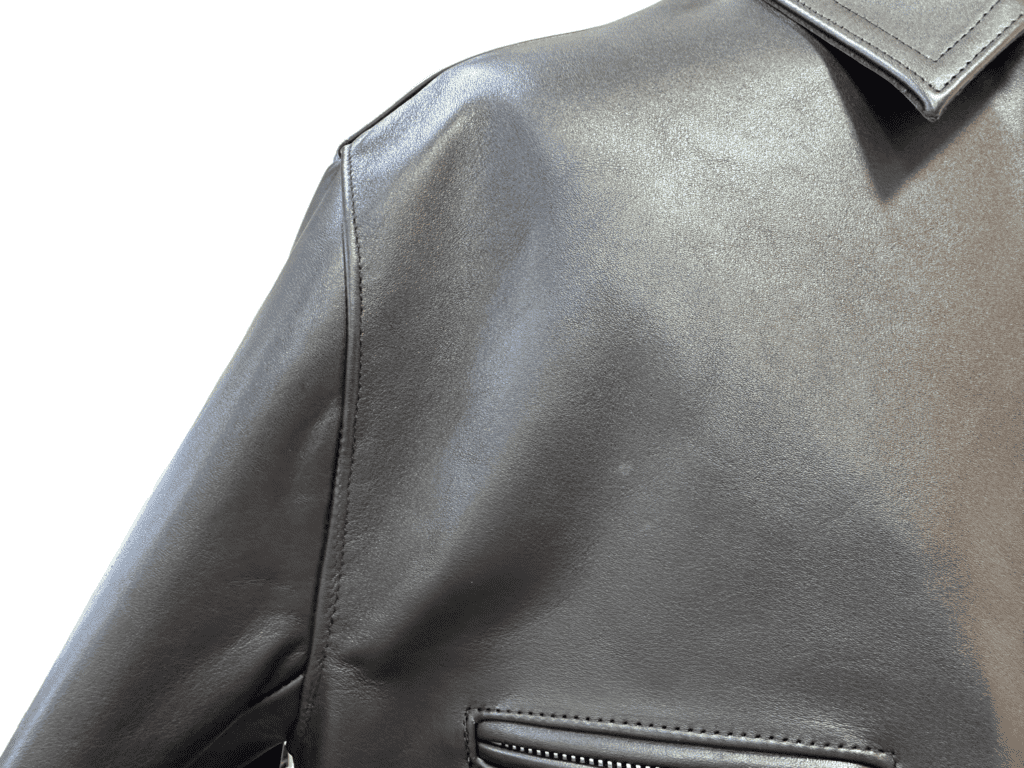
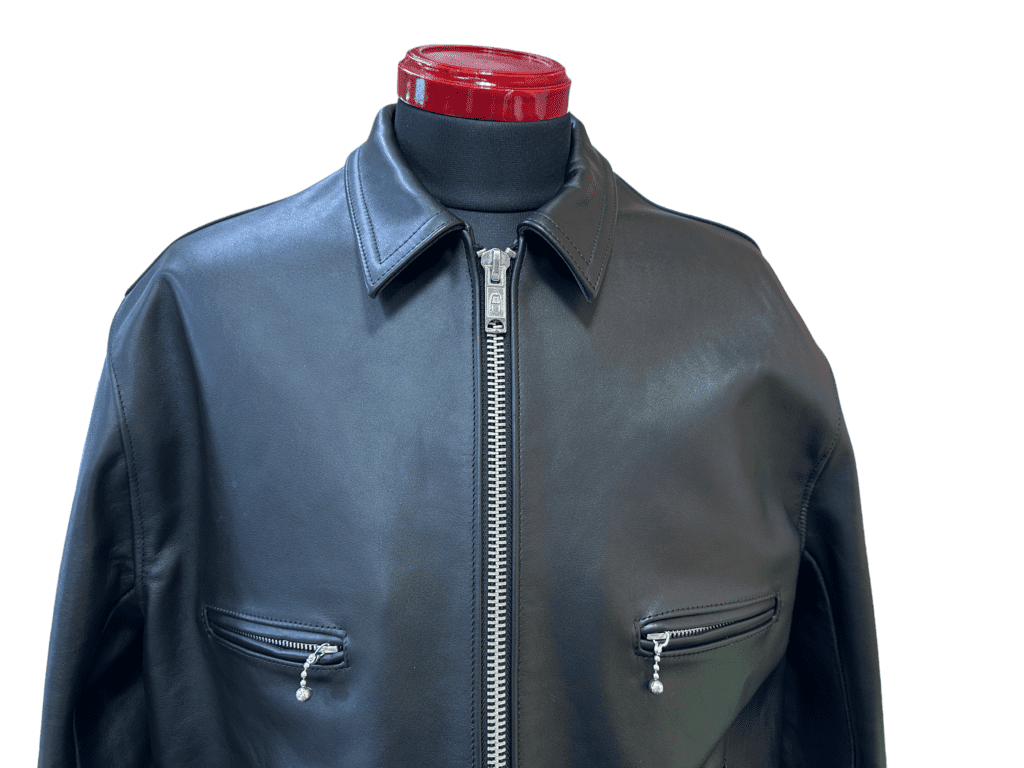
新たにステッチを入れて出来上がり
肩幅は詰め過ぎてしまうと、本体側とアームホールの距離が合わなくなってしまいます。
限界値としては3〜4㎝くらいでしょうか。
現時点でお預かりから1ヶ月ほどで納品できるように進めてきました。
概算や肩幅についてご不明な点は、画像添付の上お問合せください。
666の肩幅を左右2㎝ずつお詰めしていきます。
肩の点線から縫い代を付けて、カットする前の目印にします。
裏地も革と同等分を断ち落とします。
肩幅は詰め過ぎてしまうと、本体側とアームホールの距離が合わなくなってしまいます。
限界値としては3〜4㎝くらいでしょうか。
現時点でお預かりから1ヶ月ほどで納品できるように進めてきました。
概算や肩幅についてご不明な点は、画像添付の上お問合せください。